


How To Repair A Chimney Crown And A Chimney Cap
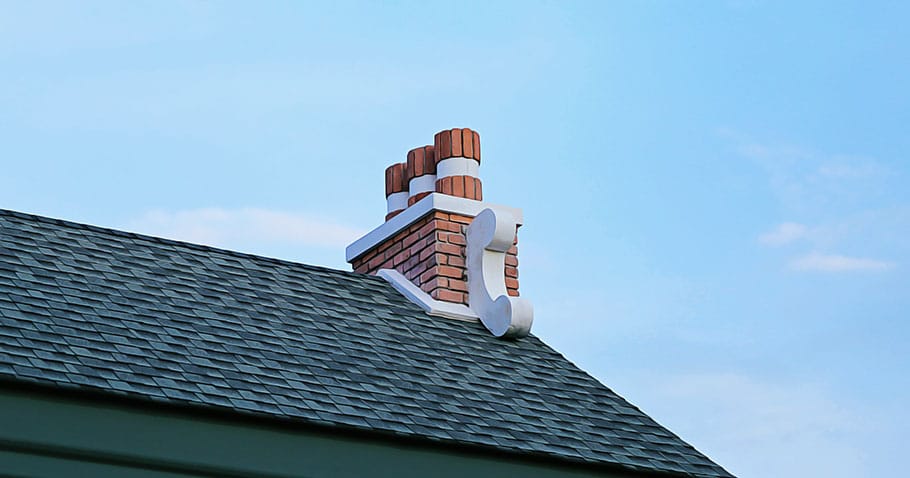
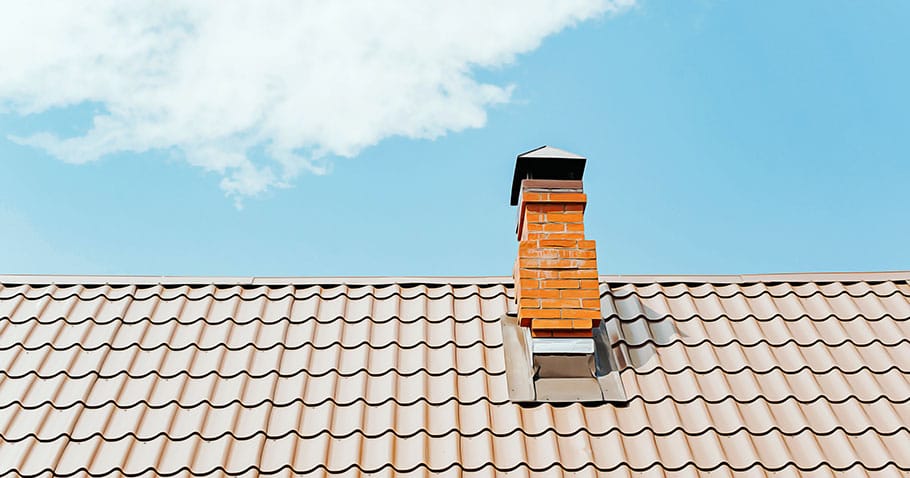
A chimney crown is the top-most masonry part of a chimney. It acts as protection for the structure of the chimney. A chimney crown has a cap on top of it that is called a chimney cap. A chimney cap is metal and can be removed because it’s an individual part of a chimney. If you think you need chimney repair related to the chimney crown and cap, keep reading.
The steps for repairing these two components of a chimney will be shown separately. If you want to repair both parts, group the instructions together.
How To Repair A Chimney Cap?
- Wear protective like rubber-soled shoes and gloves.
- Take tools like a screwdriver and a wrench and climb the roof using a ladder.
- On the top of the chimney, look for the screws of the chimney cap. Unscrew them and take out the chimney. In place of screws, there can be nuts as well that you can remove using a wrench.
- After removing the chimney cap, come down to repair the cap or get a new cap.
- Remove the creosote from the chimney cap and clean it.
- The condition of the chimney cap will be visible. Repair any joints that require your attention.
- If the chimney cap has many cracks or you don’t want to repair it, you can try to replace it and install a new chimney cap.
- Once the chimney cap is ready, climb up the roof again. Inspect the chimney crown and repair it if there are cracks using the tips in the next section.
- Put the cap back in its position and tighten the screws.
How To Repair A Chimney Crown?
- After wearing protective gear, use a ladder to reach the chimney.
- Use a wire brush to remove loose particles and debris from the chimney crown and the structure of the chimney.
- Remove the chimney cap if it’s present.
- Apply duct tape to the flue opening on the crown. On the other end, apply duct tape one inch below the chimney crown.
- Find small cracks in the crown and fill them with silicone caulk. You can use your fingers to fill the cracks with the caulk.
- For bigger cracks, use a concrete patching compound. Use a paintbrush to apply the patching compound in bigger cracks. Leave it to set for 15 minutes.
- You will need to seal the crown to avoid water damage. Use a brush and a chimney crown sealer for this purpose. Make sure to brush the sealer completely including the edges and the area near the flue.
- When applying the chimney crown sealer read the instructions because some sealers require you to apply two coats of the sealer. If there are similar instructions, apply the first coat and leave it for 5-10 minutes. After waiting for this much time, begin applying the second coat.
- When coating the chimney crown with a sealer, even out the coating by moving the brush lightly on the coat that is uneven to mix it with its surrounding coat and even it out.
- When finished with the repair, remove the duct tapes you applied on top and below the chimney crown.
Why Repair Your Chimney Crown?
A chimney crown doesn’t appear to be a critical part of a chimney to homeowners so many people ignore its repair. Cracks in the chimney crown can allow moisture to seep into the chimney and begin its slow destruction. Moisture can damage the brick and mortar of your chimney as well as the flashing. Moreover, it can damage the roof, wall paint, drywall, panels, and plaster on the neighboring areas of the chimney.
It can lead to finishes peeling off or bubbling up. Moreover, some pieces of paneling and drywall can fall down due to moisture damage. If you keep ignoring chimney crown repairs, extensive damages will be caused and you may have to rebuild the entire chimney which will cost a lot more than repairing a chimney crown.
Conclusion
A chimney crown and a chimney cap, both are important parts of a chimney that protect the chimney and the fireplace from dust, debris, and moisture. If any of them is damaged, hire chimney contractors Columbia MD to repair them and minimize damage to your chimney.